How to Start MIKE+
During the installation of MIKE+, a program shortcut is placed in the Programs' section of the Windows 'Start' menu (found under MIKE+ 20XX). Pin to the taskbar and/or the start menu for quick access. You can also choose to create a MIKE+ icon on the Desktop and launch MIKE+ from this by creating a shortcut to DHI.MIKEPlus.Shell.exe (found in the bin-directory of your MIKE+ installation).
Open the program and explore the MIKE+ user interface. An example is shown in the figure below. Note that it is possible to have multiple instances of MIKE+ opened in one session.
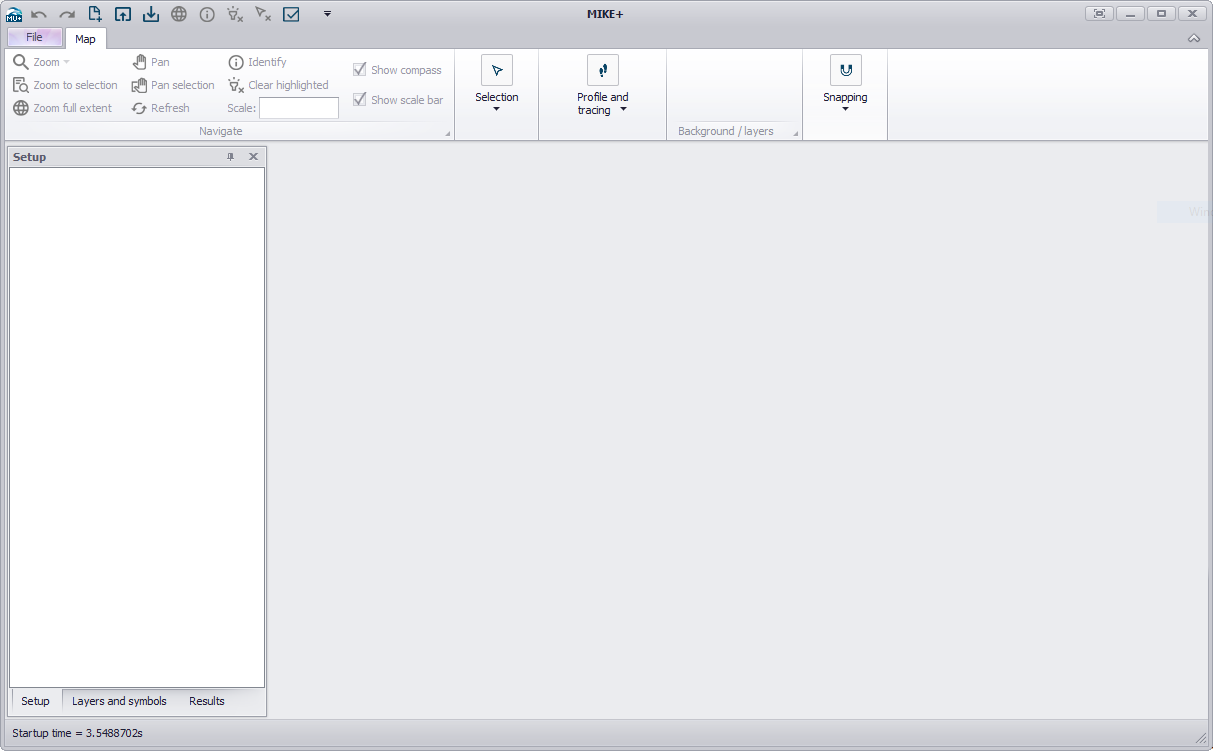
Figure: MIKE+ desktop
Once MIKE+ is opened, you can create a new project following the steps below:
-
Go to File | New (or click the 'New' icon in the Quick Access Toolbar at the top of the window)
-
In the dialog that appears, select the expected model type. Note that this type is used to control the list of editors and tools that will be visible, and this model type can be changed from the 'Model type' editor once the model database has been created.
-
Select the desired unit system. This unit system can also be modified later from the 'Model type' editor. Refer to Customizing Unit Environment for more information.
-
Select a database type (SQLite or PostGIS), file path for the database and file path for the *.mupp project file.
-
In the second tab 'Coordinate System', select a coordinate system (refer to Selecting a Coordinate System).
-
Once a coordinate system has been selected, an extra tab will appear to optionally add a background layer (Open street map, Google map, WMS server or country/coastline boundaries). Select the wished option.
-
In the 'Description' tab, add a title and description for the project.
-
Click 'OK' to create the database with the specified settings.
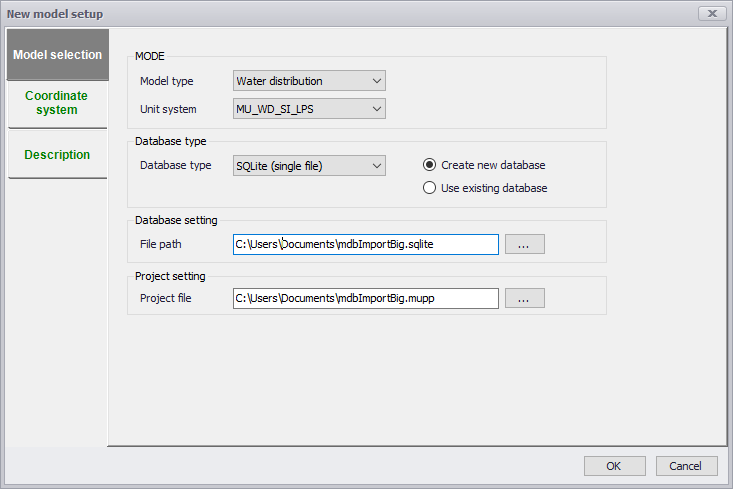
Figure: Creating a new model database
You are now ready to start entering data into your model. This can be done by typing data manually into the various editors, importing data by connecting to an external data storage, graphically digitizing data on the map, or a combination of all three methods.
All changes will be saved directly (automatically) to the database, but with an unlimited number of 'undo' and 'redo', within the current session (up to when the MIKE+ model was opened). 'Undo' enables changes to be 'undone' in the order they were entered. 'Redo' will redo the changes in the order they were 'undone'. 'Undo' and 'Redo' are available in various tabs in the ribbon, or using the shortcuts Ctrl + Z (undo) and Ctrl + Y (redo).