Creation of a river Network
A MIKE 1D river network can be defined within MIKE+ by:
- Import of existing MIKE+ Project
- Import of external river model data (e.g. GIS) into MIKE+
- Graphically digitizing and manual data typing within MIKE+
The last option is frequently used in combination with one of the previous options to efficiently build a model in MIKE+.
It is recommended to define a spatial reference your network so that features are correctly geographically located.
Digitise a River Network on the Map
Import River Network Data
Digitise a River Network on the Map
Digitise river networks directly on the Map. Use tools from the Edit Features toolbox on the River Network menu ribbon to digitise river networks on the Map.

Figure: The River Network menu ribbon
Set the Target Layer to ‘Rivers’, and use the ‘Create’ tool to draw the river network on the Map (figure below). Left-click to set river branch vertices, right-click to remove the last defined vertex, and double-click to end the drawing.
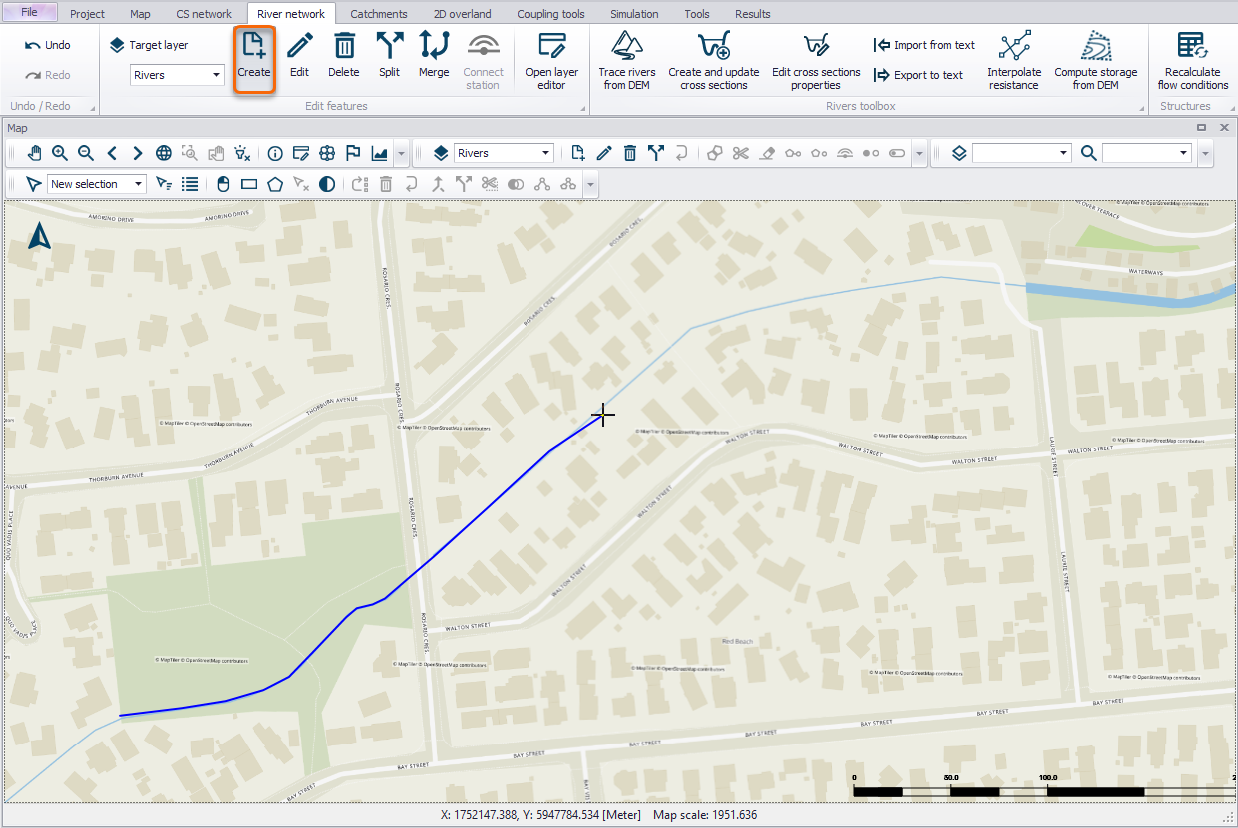
Figure: Use the ‘Create’ tool to digitise River features on the Map
Use the ‘Edit’ tool to modify river branch features on the Map. While editing, left-click on an edge to add a vertex. Double left-click on an existing vertex to delete it. Move an existing vertex by clicking on it and dragging the point to the new location. Right-click outside the feature to stop editing and save edits.
One may use a background map to help with digitising river networks on the Map.
Import River Network Data
River network data may be imported from external file sources (e.g. shapefile) using the Import and Export tool in MIKE+.
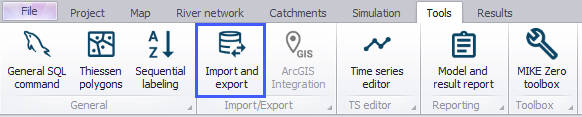
Figure: The Import and Export tool from the Tools menu ribbon
The database tables relevant for river networks in MIKE+ have a prefix of ‘mrm_’. For example, one may import river branch/alignment information (i.e. Rivers data layer) through the mrm_Branch data table.
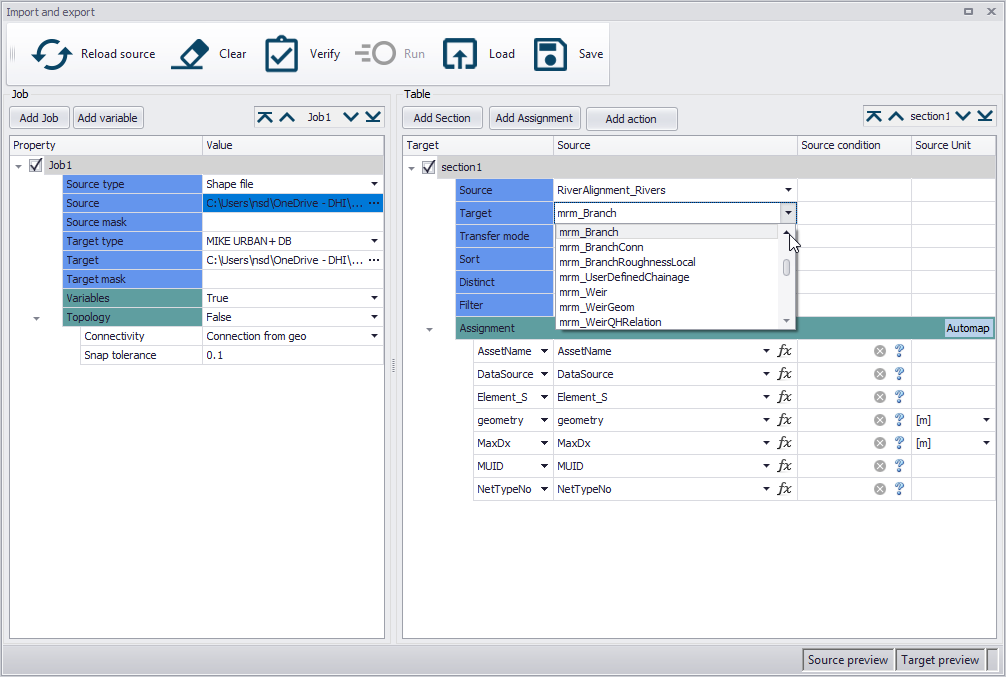
Figure: Configure data imports into relevant tables for river networks in MIKE+
More details on the Import and Export tool are found in the MIKE+ Model Manager menu, chapter 'Import and Export'.